6 Tips for Taking Amazing Food Pics on Your iPhone
Do you scroll through your Instagram feed baffled at how people capture such mouth-watering pictures of their food? Are you lost when it comes to making your homemade macaroni and cheese look appetizing? Don’t fret—improving your iPhone food pictures is much easier than you think. Here are the 6 things you need to know to make all your friends jealous of your food shots:
1. Use Natural Light
Improving your lighting has the most dramatic effect on your photos. It’s such a simple fix! All you need to do is switch from artificial light to natural light. That means no iPhone flash and absolutely no indoor lights. Instead, utilize the most natural source of light—the sun. All professional photos are taken with natural light or imitation natural light, so you’ll be taking pictures just like the pros.
You’ll want diffused natural light to avoid harsh shadows in your pics, so find a window that’s not getting direct sunlight or find a shady spot outside. Shade makes for the best pictures!
Before:
After:
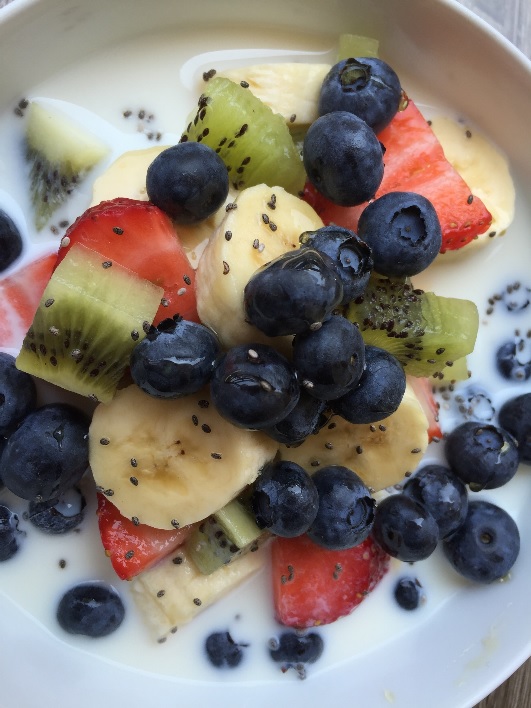
2. Back Up!
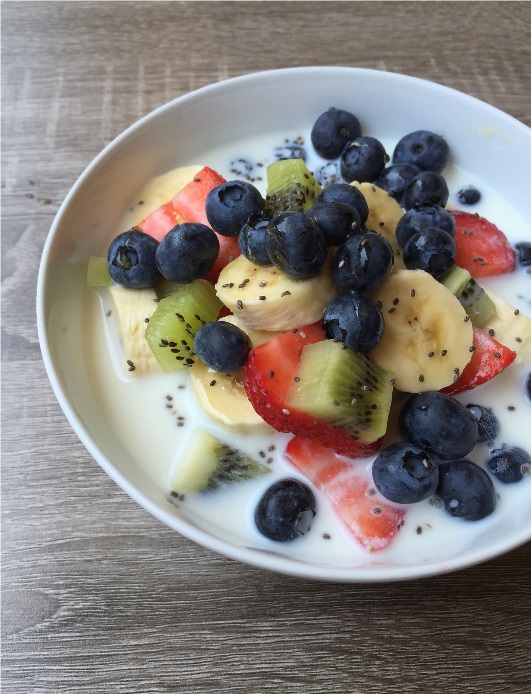
There’s nothing worse than a picture that’s so close up that you have no idea what you are looking at. You may want to zoom in on every detail of your food masterpiece, but this makes it harder for our minds to process what we are seeing. Adding negative space (empty space) to your picture allows the shapes and textures of your food to stand out and grab everybody’s attention.
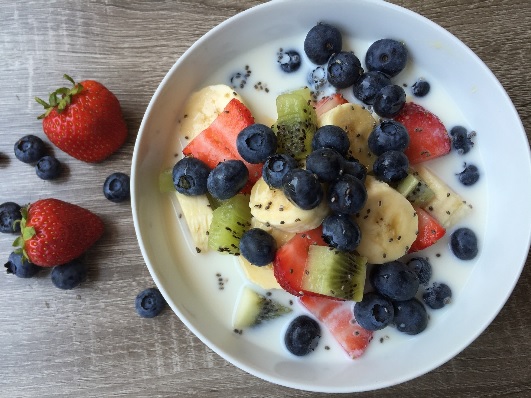
Before:
After:
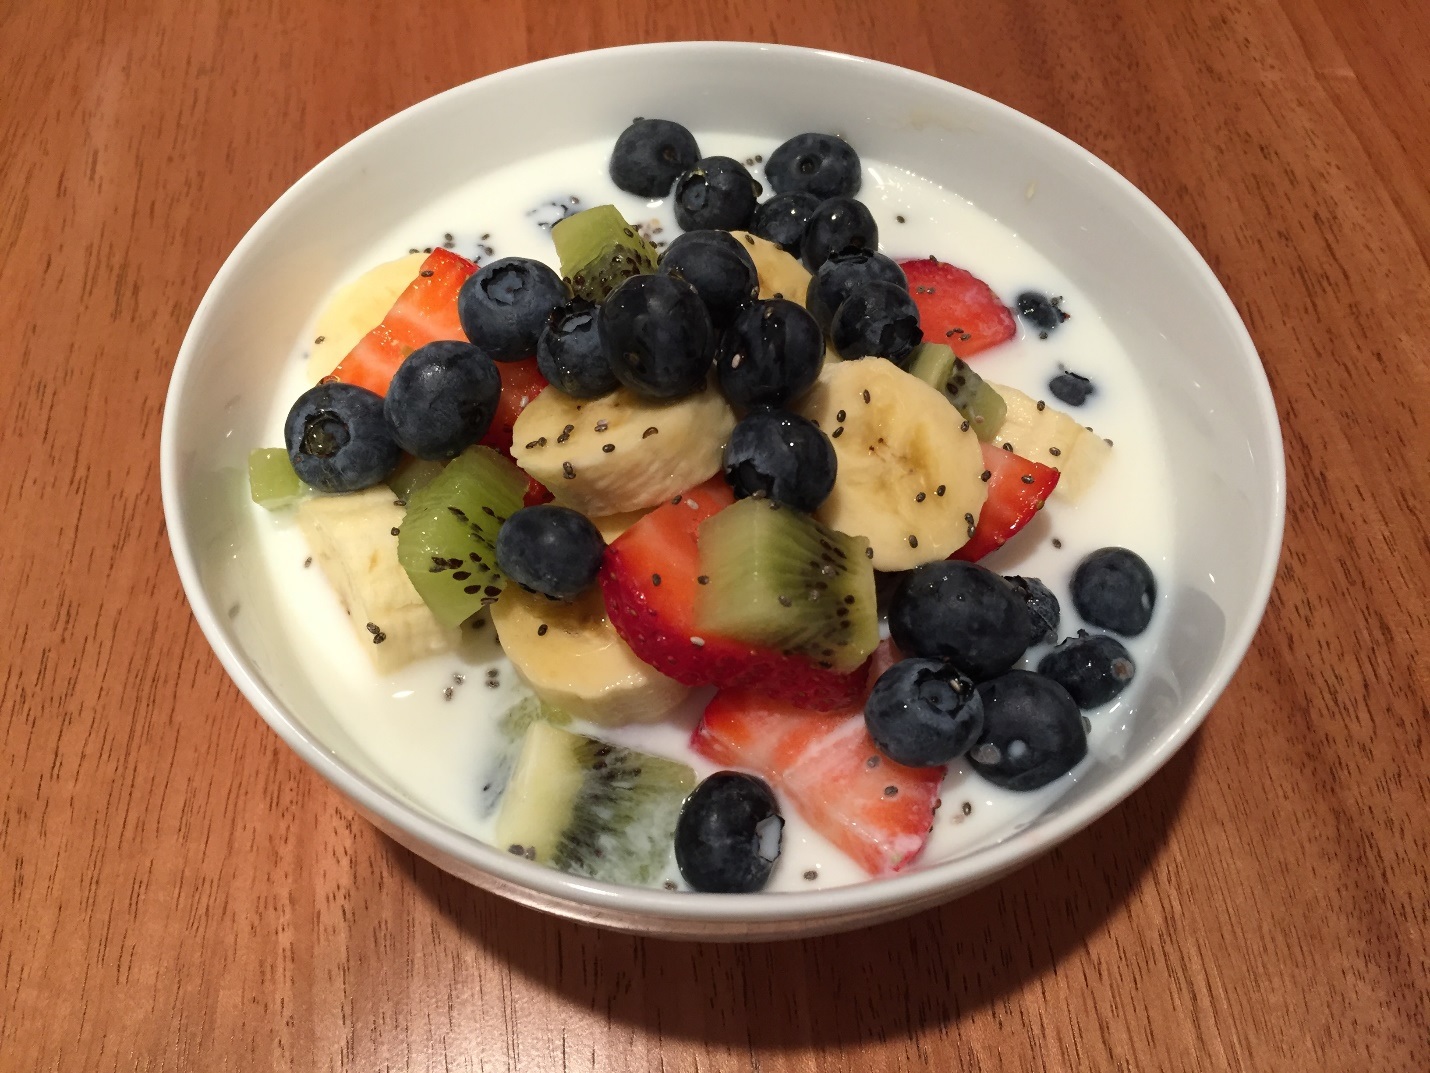
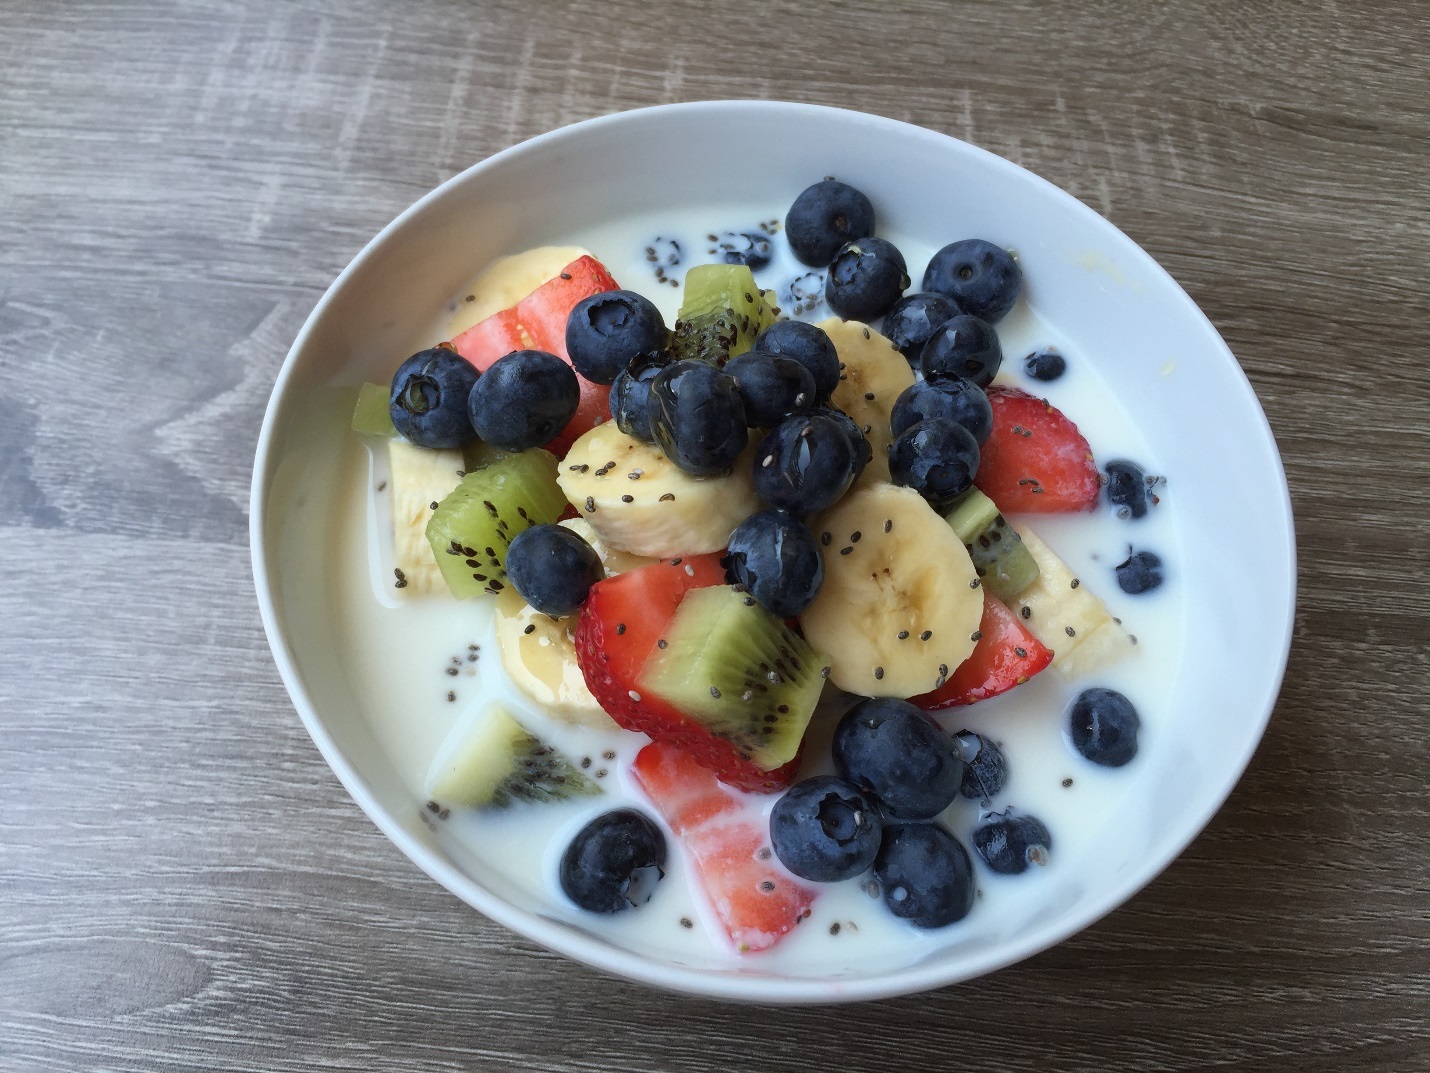
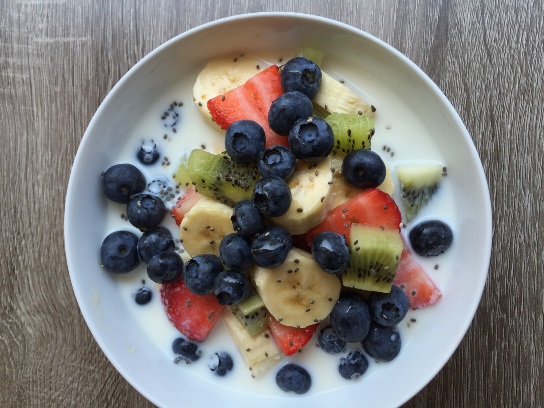
3. Choose the Best Angle
The angle you use can really enhance the look of your picture. Most food looks great photographed from above, so use this as your default angle.
If your dish has great height or layers, then snap your picture from the side. If you want to include props or a scene in the background, use a diagonal angle.
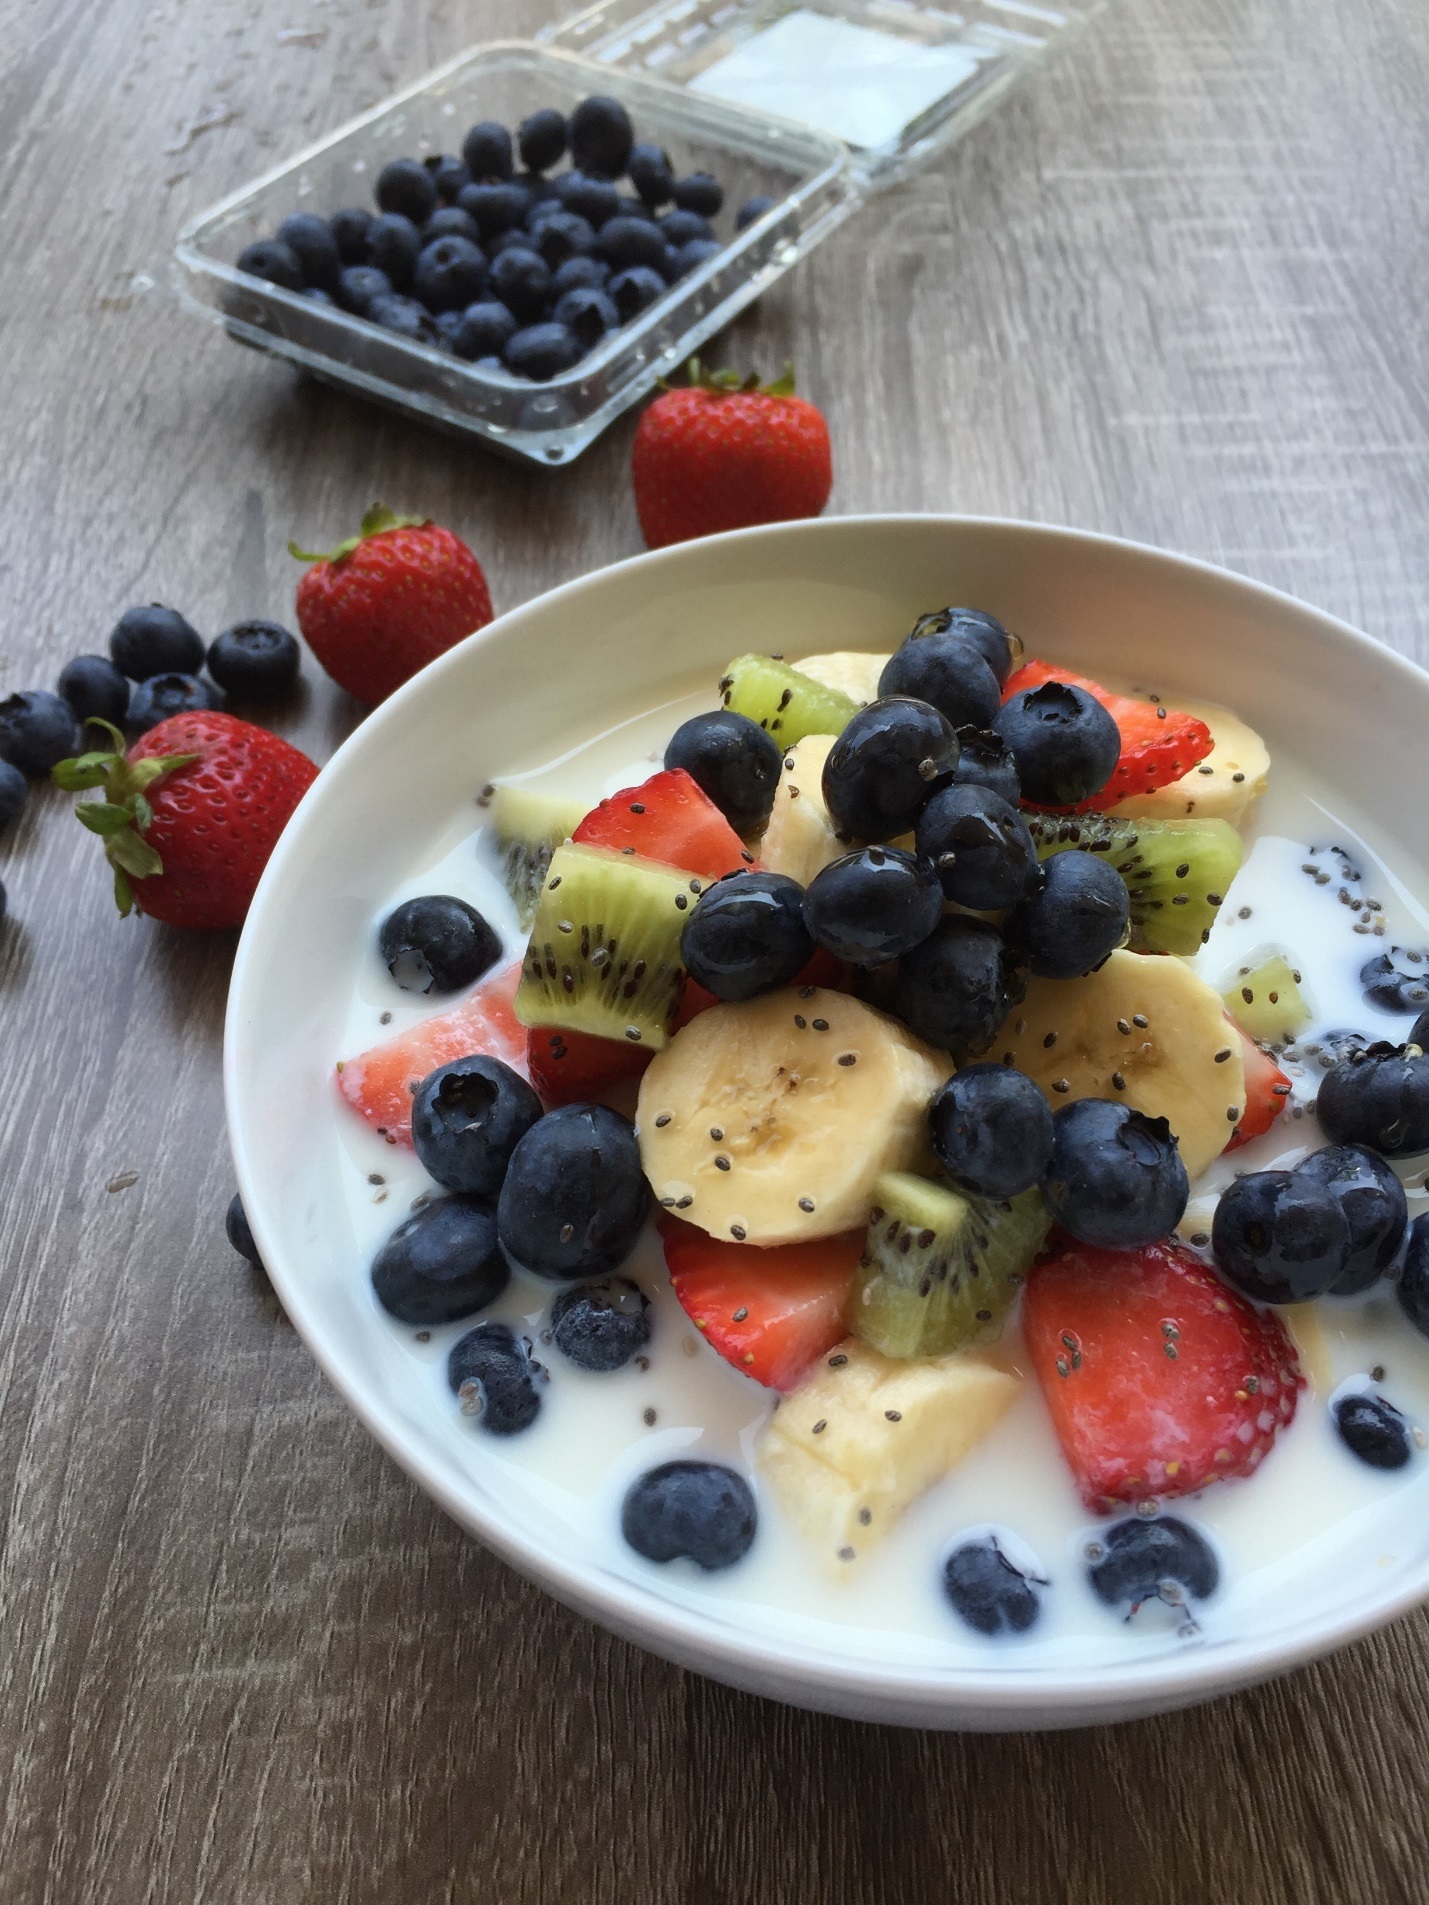
4. Use a Neutral Background
Nothing kills a food picture faster than a crazy background. You want your food to capture your audience’s eye—not your placemats! Choose a simple background with a neutral color and subtle texture. A few great choices are wood tables, chalkboards, white counters, and windowsills.
Before:

After:
5. Add Elements of Style
Now that you’ve mastered the lighting, angle, and background, it’s time to focus on the food! Adding a few details to your photo will really enhance your picture and make the food shine. But you don’t want to overdo it! Stick to one or two style elements. Think about what story you want to tell with your picture. Here are a few examples:
- Do you want to highlight the ooey gooey cheesiness of your homemade macaroni and cheese? Take your picture while holding a fork that’s dripping with strings of cheesy goodness.
- Do you want to portray how cozy it is to enjoy a bowl of soup while curled up with your favorite book? Show your hand turning a page in the background, or nestle the soup in the crevasse of your curled legs.
- Are you in love with the warm, chewy center of your chocolate chip cookies? Take a bite out of the cookie and show it off.
- Think about what ingredients you want to highlight and include them in the shot. If you made zucchini soup, put a few zucchini slices in the background to show off the star of the show. Sprinkle chopped herbs on top to add great texture and a pop of color.
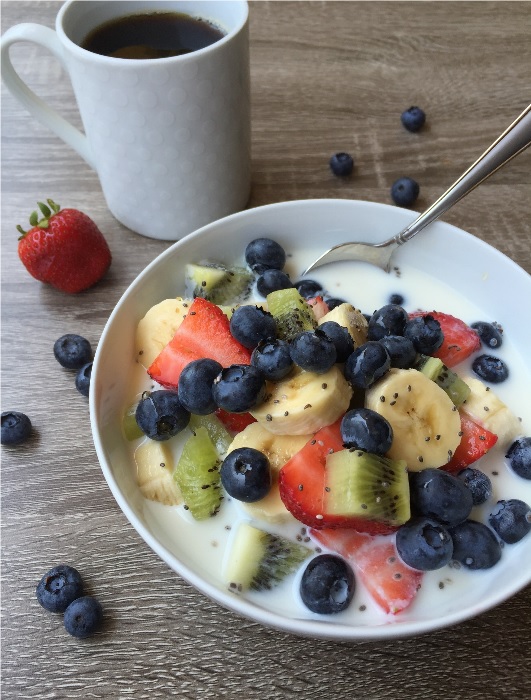
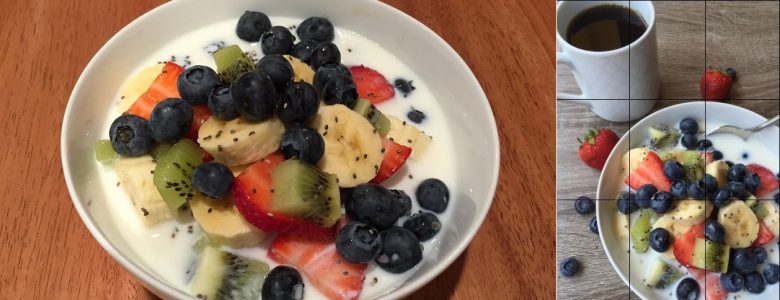
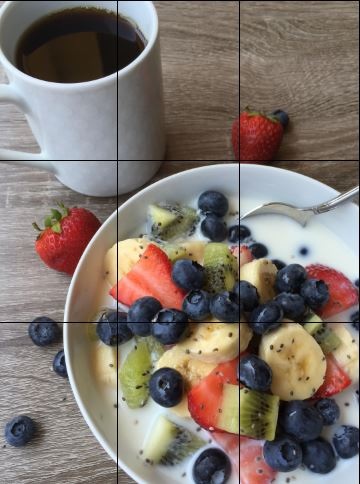
6. Advanced Tip- Use the Rule of Thirds
Now it’s time for an advanced tip since you are becoming such an expert! Professional photographers use a technique called the rule of thirds. This means that when you draw the below grid over your picture, our eyes like to focus on the intersections of the 4 lines. So put the focal point of your picture at one of the four points, or at least along one of the lines. Now you know why Instagram puts this grid over your pictures—and you can actually use it properly!
Before:

After:
With these simple tips, you are on your way to stunning food pics that your friends are going to adore! Now that you know the techniques, scroll through pictures you like and notice their lighting, angles, background, and style elements. Think about what attracts to you each picture and work on replicating it with your shots. You are well on your way to developing your unique style of photography. Happy picture taking!
About the author

Samantha Mattox is the recipe developer and food lover behind Pass the Challah, a food blog full of crowd-pleasing kosher recipes. Her recipes are uncomplicated, full of flavor, and full of love. She works in Finance and spends all her spare time in the kitchen. Check out her recipes at passthechallah.com.